Some of the July Card buffet is done. Thought I would let you get a sneak preview.
I am using a few of the card Workshop Your Way kits. I am also using the Mix in paper packet and card stock along with this year's color Sugarplum. There will be a few more cards to come.
Friday, June 28, 2019
Wednesday, June 12, 2019
June Card Buffet
Today is the June Card Buffet. If you are interested in July's buffet let me know. I will post the dates later. It is fun to use some of the older stamps that I still have. Every once in a while it is fun to look through things, find old friends, and use them or pass them along to others who might use them now.
Some things were cut out but others were from the thin cuts/stamp sets. I have the new Fancy tags Z4305. I can see these used on the cards but also cutting photos and using them in scrapbook pages. I love the Shimmer Brushes because they are so versatile and unlike some of the bling that "bumps" up, it doesn't cost extra to send them through the mail.
Saturday, June 8, 2019
Calendar Retreat
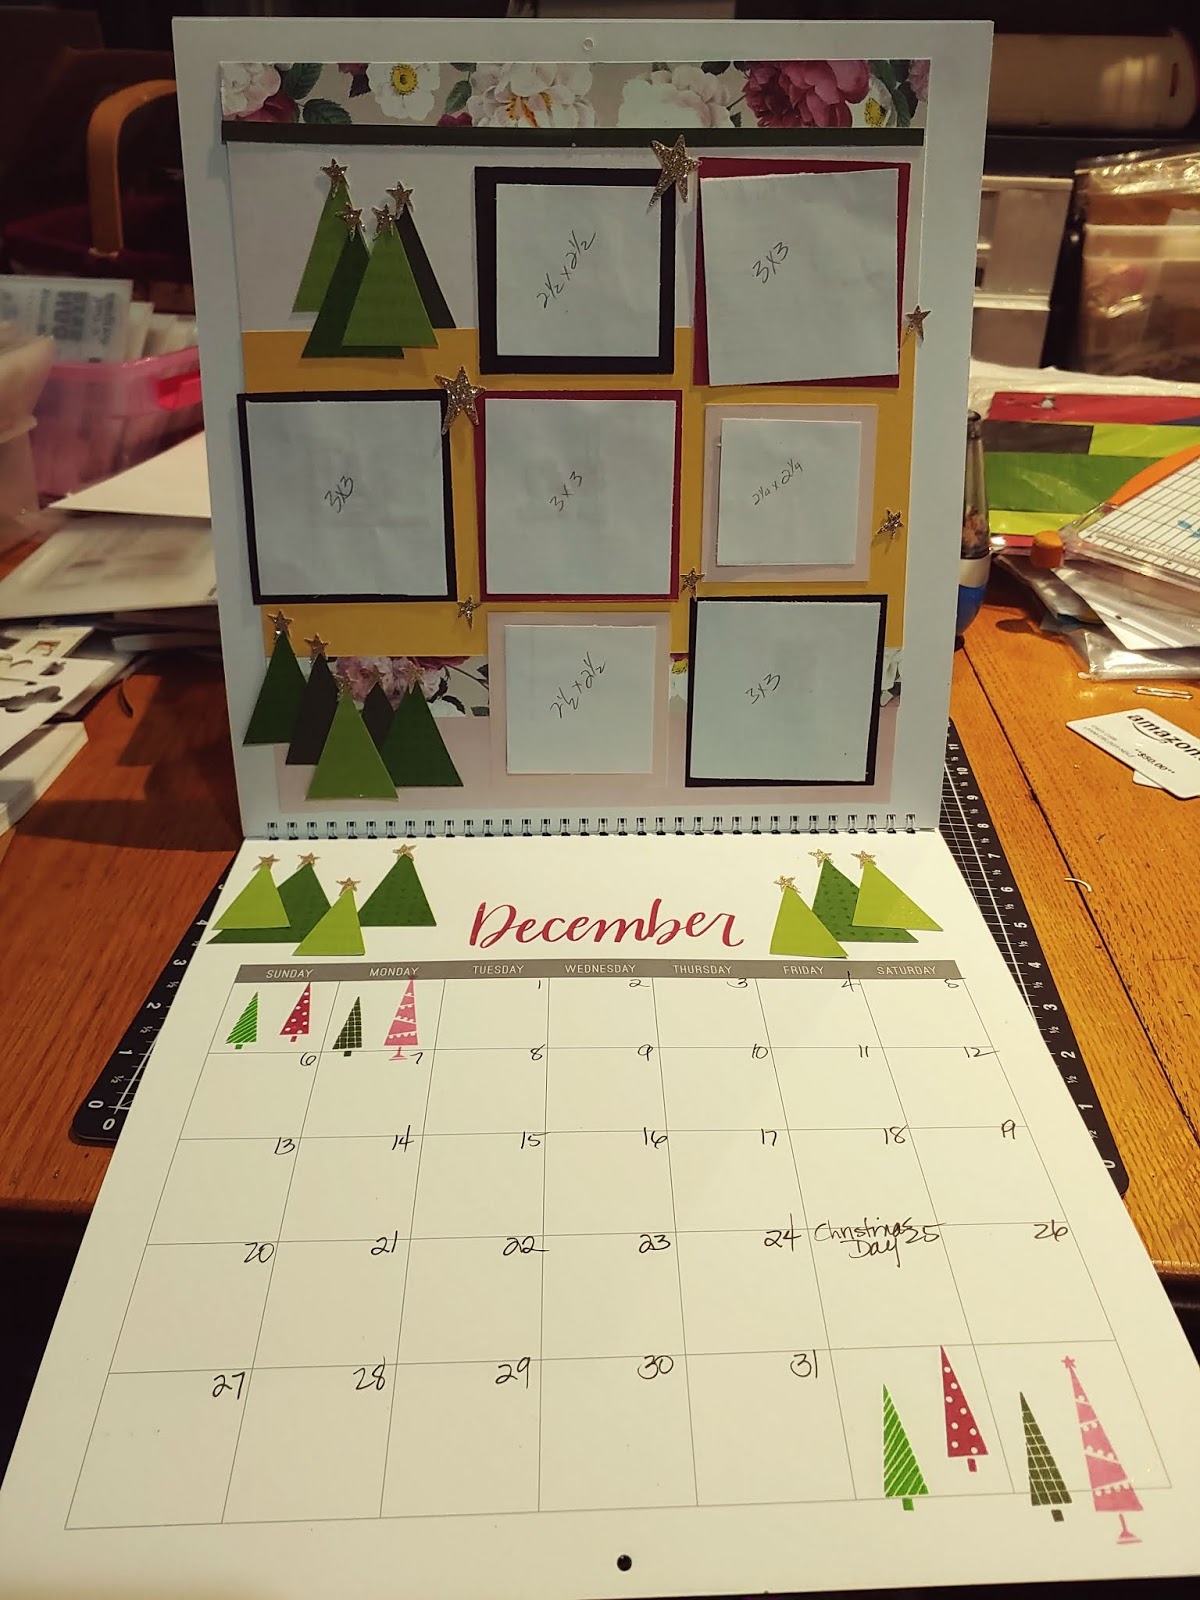
Each summer a group of us get together and make calendars for the next year. Usually Close To My Heart comes out with a calendar in the fall and be buy it for the next year. This year we thought we would just get a calendar blank and use an old pattern and things we had around the house.
I used old papers with new papers and Glitter paper which is amazing. I have old colors and old inks and have had fun using them again with old stamps and thin cuts and cricut shapes.
If you want to do a calendar, let me know. It is a great way to use up scraps or take a new paper packet and cardstock and be creative. Here are the 12 months:
I used old papers with new papers and Glitter paper which is amazing. I have old colors and old inks and have had fun using them again with old stamps and thin cuts and cricut shapes.
If you want to do a calendar, let me know. It is a great way to use up scraps or take a new paper packet and cardstock and be creative. Here are the 12 months:
Saturday, June 1, 2019
The Best Moments are Free
The special this month is select stamp sets that when you purchase them, you get the paper to do a 2 page layout free. Three stamp sets are from the current catalog and one is only available through this special.
Check out my website: barbarapagekell.ctmh.com to order these 4 deals separately or in a bundle. You will save even more when you get all 4 stamp sets and the paper to do a 2 page layout for each FREE! You can download the instructions from the website.
The New stamp set is Then & Now and is available separately or with the kit.
The paper that goes with it is:
The other kits go with stamps from the current catalog.
Happy Trails
Grillin' & Chillin'
Escape to Paradise
If you were to get them all separately, it would be $177.33 but the Discounted price for all 4 is $52.95! If you want to purchase all 4, you can come over to my house and we can spend @ 4 hours putting them all together. Know that when you get the instructions, they are great to use with other paper you may have or you can order.
Thursday, May 30, 2019
Challenge accepted
I love doing challenges. I love to be stretched by things that are new and I love stretching myself by trying new things. In the Seasonal Expressions May - August 2019 catalog, there is a Memory Protector Combo Pack Z4092 on page 61. It is part of the Story by Stacy products with the new How-to book StoryTeller. When I first looked at the combination of memory protectors: 6 x 6, Pocket Plus Design 1, Pocket Plus design 4, 8 1/2 x 11 and a 12 x 12 , I wondered how they would be used.
I received by How-To StoryTeller book and started looking at all the ways and all the sizes you can tell stories. I have always loved to journal and have pushed people I work with to do the same. I realized as I was doing scrapbooking for my children that not only I didn't remember all the names of the kids from their class pictures but they didn't remember either. When I looked back at my pictures in photo albums I didn't remember many details either. My mother was our "family historian" and she kept saying you need to write on the back of the photos and write down somewhere who, what, where, why and how.
My Grandmother won all these blue ribbons at the State fair for her flower arrangements, her baking, her crocheting and her knitting. After she died we found boxes of ribbons but nothing was written on them so we don't know what they were for. Try as hard as I could, our daughter has boxes of ribbons from horse shows with very little written on any of them. The story is really important and details matter. As I have made my albums, I have tried to put journaling in by at least putting dates and people but have grown to using Close To My Heart Flip Flaps (pg 151) because you can have a photo on the top and journaling under so that if people just want to glance at the photos they can and if they really are interested in the details they can merely look under a flap.
I had from the last catalog Feels Like Home paper packet, complements, watercolor flowers, and some cardstock. I love to design pages and cards. I started out with looking at the Extended storytelling and how the memory protector combo pack was used and started to design. I continued to design the pages by using Make it from your heart Vol 3 ( Pattern 25, pattern 27 and Project 3 from Bring Back My Pack Zoe). I had to add some cardstock and when I was done there were still compliments and embellishments left. I based my last 2 page layout on pattern 15 and used Memory Protectors Design 1 and 4.
If you look at previous posts, you can see that I am making what you might call "albums" which would take up 1/2 a D-ring Legacy Album. This "set" will go with the previous one. I am getting the albums made so that when I go through photos and memorabilia I can put them in an album. If I need more room, I can use flip flaps and different sizes of memory protectors.
Maybe you have lots of photos or things you want to save. Think of the possibilities of using ALL the different sizes of memory protectors that Close To My Heart makes in one album! Think of telling your stories or doing extended stories so that you can remember and others can share in your story telling. If I need to tell more of the story, I can use flip flaps or take on of the designated photo spots.
The page as it looks is on the left hand side and the Flip Flap opened is on the right. It is easiest to have a Flip Flap stuck so that when you open a page, gravity works to keep it on the page. The top on is the right had side and the one below is on the left hand side.
I received by How-To StoryTeller book and started looking at all the ways and all the sizes you can tell stories. I have always loved to journal and have pushed people I work with to do the same. I realized as I was doing scrapbooking for my children that not only I didn't remember all the names of the kids from their class pictures but they didn't remember either. When I looked back at my pictures in photo albums I didn't remember many details either. My mother was our "family historian" and she kept saying you need to write on the back of the photos and write down somewhere who, what, where, why and how.
My Grandmother won all these blue ribbons at the State fair for her flower arrangements, her baking, her crocheting and her knitting. After she died we found boxes of ribbons but nothing was written on them so we don't know what they were for. Try as hard as I could, our daughter has boxes of ribbons from horse shows with very little written on any of them. The story is really important and details matter. As I have made my albums, I have tried to put journaling in by at least putting dates and people but have grown to using Close To My Heart Flip Flaps (pg 151) because you can have a photo on the top and journaling under so that if people just want to glance at the photos they can and if they really are interested in the details they can merely look under a flap.
I had from the last catalog Feels Like Home paper packet, complements, watercolor flowers, and some cardstock. I love to design pages and cards. I started out with looking at the Extended storytelling and how the memory protector combo pack was used and started to design. I continued to design the pages by using Make it from your heart Vol 3 ( Pattern 25, pattern 27 and Project 3 from Bring Back My Pack Zoe). I had to add some cardstock and when I was done there were still compliments and embellishments left. I based my last 2 page layout on pattern 15 and used Memory Protectors Design 1 and 4.
If you look at previous posts, you can see that I am making what you might call "albums" which would take up 1/2 a D-ring Legacy Album. This "set" will go with the previous one. I am getting the albums made so that when I go through photos and memorabilia I can put them in an album. If I need more room, I can use flip flaps and different sizes of memory protectors.
Maybe you have lots of photos or things you want to save. Think of the possibilities of using ALL the different sizes of memory protectors that Close To My Heart makes in one album! Think of telling your stories or doing extended stories so that you can remember and others can share in your story telling. If I need to tell more of the story, I can use flip flaps or take on of the designated photo spots.
6 x 6 page
8 1/2 x 11 page
Pocket Plus Memory Protectors Design 1 and 4
I then used the 6 x 12 flip flaps on 2 pages. The "tops" are the same as underneath. The page design split originally at 6 inches so it was a natural for using the 6 x 12 flip flaps.
Since I still had paper left and some cardstock that matched, I did 2 more 12 x 12 pages and then did the design 1 and 4 Pocket Plus Memory Protectors.
I think that I am gravitating to the 1/2 page Pocket Plus Memory Protectors. I still have lots to learn about not using all the photos on one page or most of the photos that I take or have for one time period. These protectors allow more photos to be kept in the same section without cluttering up the pages.
For me, there were several to challenges that I was accepting to work on:
1. Try using the Memory Protector Combo Pack
2. Try using less photos on pages - hence using the How-to book Make it From Your Heart Volume 3 and probably using Love of Color and Make if From Your Heart Vols 1 -2.
3. Use as much of a packet as I can. I have so many plastic bags of paper scraps which could have made several more pages but I just did the workshop as it was and didn't try using them up. I sometimes make cards from them but the paper has been separated from a project and instructions or already been used in a album.
4. Be creative and try new things.
I hope this will give you ideas of what you might do. Challenge yourself and see what great things can come from a good challenge.
Subscribe to:
Posts (Atom)